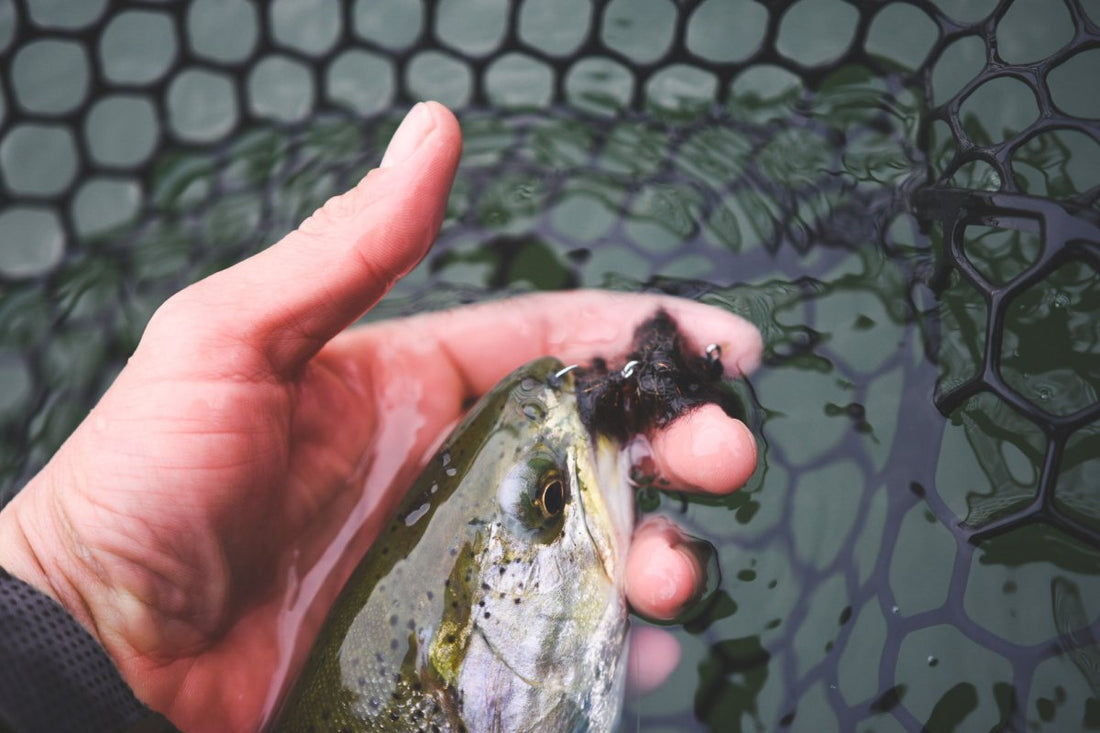
Sculpin Fly for Trout and Bass Fishing!
Sculpin patterns are a staple in fly boxes around the world. Whether it’s freshwater or saltwater, most predatory fish cannot resist a sculpin snack! Our Spawn Jig Shanks are taking both the success from jig flies and the success from articulated flies and combining the two to creating an irresistible movement in the water. This articulated jig-style sculpin fly is one of my favorite flies I’ve designed and I know it will bring success around the globe!
Materials List:
Hen Saddle Tan, Olive or Black
Spawn Simi Seal Sand Dab or Polychaete
Hareline Slotted Mottled Tungsten Bead Black
When selecting a hook for this fly, I like to choose a hook with a longer shank and a decent sized hook gap! Ahrex TP605 is my preferred freshwater hook while the SA220 is my go to saltwater hook for this fly!
Step 1: Place hook in vise.

Step 2: Select a mid sized feather from the hen saddle and reverse wrap the feather starting just before the curve of the hook. This feather is building profile for the tail of your sculpin!

Step 3: Strip the hair off the Frosttip Rabbit Strip and tie it in front of the hen saddle feather. The rabbit will give your fly great movement profile and a lifelike fin look due to the frosted tips.

Step 4: Dub your thread and taper your wraps of dubbing toward the eye of the hook.

Step 5: Whip finish and cut the thread.

Step 6: Take your Micro 60 or 90 Degree Jig Shank and insert the your Mottled Tactical Slotted Tungsten Bead. I like heavy flies especially for jig-style flies. Sizes 3.8, 4.6, and 5.5 mm all work great! For this fly I am using a 4.6 mm.

Step 7: Directly connect the hook to the Micro Jig Shank.

Step 8: Take Lead Free Wire Wraps and secure the bead on the Jig Shank!

Step 9: Tie down your Jig Shank and cover the lead free wire ensuring there is no movement with the bead!

Step 10: For the start of the sculpin body, tie in and veil the Spawn Simi Seal along the back of the shank this will help protect the hook from fouling while keeping the articulated movement!

Step 11: Dub your thread and create the body of the sculpin by laying down overlapping wraps of Spawn Simi Seal! Leave about 3 mm of space from the bead.

Step 12: Take two of the small hen saddle feathers and strip down so that all is left is the tip of the feather. These are to build profile for your next material.

Step 13: Strip more of the frosted tip rabbit off the hide and place this rabbit over the hen saddle feather. Trim away any excess rabbit! This will be your sculpin's pectoral fins!

Step 14: Once you have tied in the rabbit on both sides, dub your thread with Spawn Simi Seal and wrap it up to the bead. This will be the head of your sculpin! Once you are at the bead whip finish.


